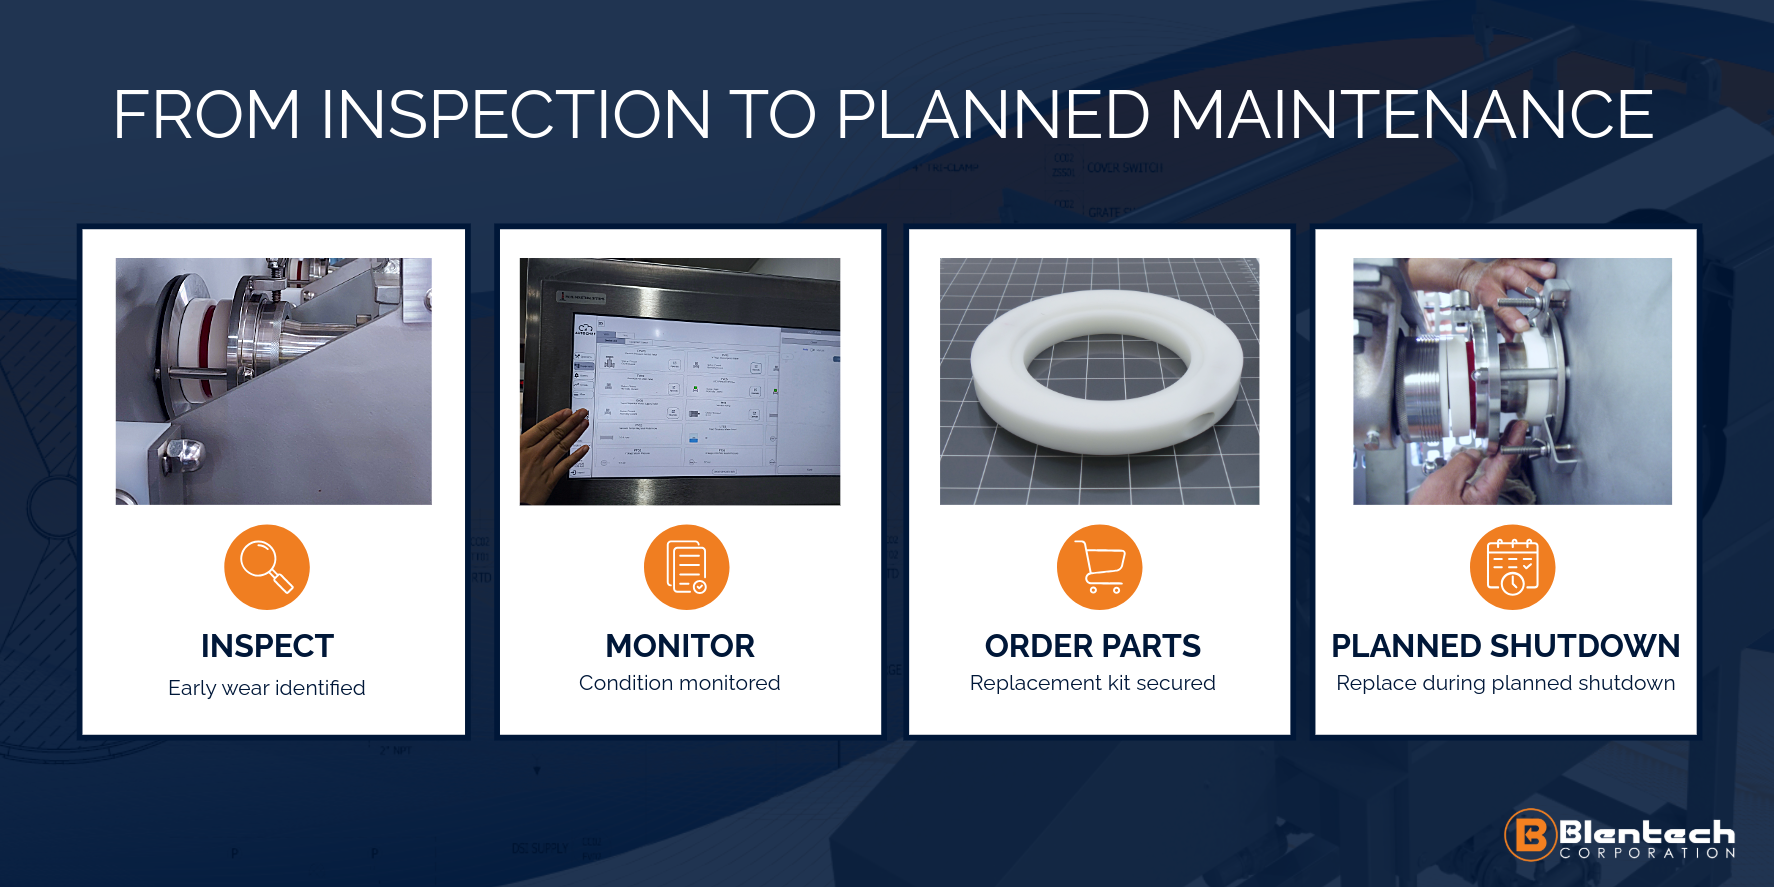
Bearing sleeves — what they are, quick checks, and how to replace them
What a bearing sleeve is & why it mattersA bearing sleeve is a stainless-steel tube fixed to the stub shaft between the shaft and the bearing insert. It protects the shaft, maintains alignment, and should be inspected and replaced regularly…
What a bearing sleeve is & why it matters
A bearing sleeve is a stainless-steel tube fixed to the stub shaft between the shaft and the bearing insert. It protects the shaft, maintains alignment, and should be inspected and replaced regularly to prevent larger repairs and downtime.
Quick Preventive Maintenance Checks
- Visual: Look for the sleeve backing out or a visible gap between the sleeve flange and bearing. On Blentech agitators, the flange-to-bearing distance should be about 0.25″. If it’s larger, investigate.
- Manual (axial play): With seals removed if necessary, apply a modest up/down force to the shaft. Any shaft/bearing movement suggests wear and likely replacement.
- Wear: Replace the bearing sleeve when there is more than 1/16 inch of gap between the sleeve and the bearing.
- For a limited extended life, the bearing insert can be removed from the housing and flipped before final replacement.
- Noise: Persistent grinding or scraping that doesn’t stop after cleaning/run-in is a problem — inspect and likely replace.
Replace the sleeve if any of the above checks fail (backing out, axial play, thin wall, or persistent noise).
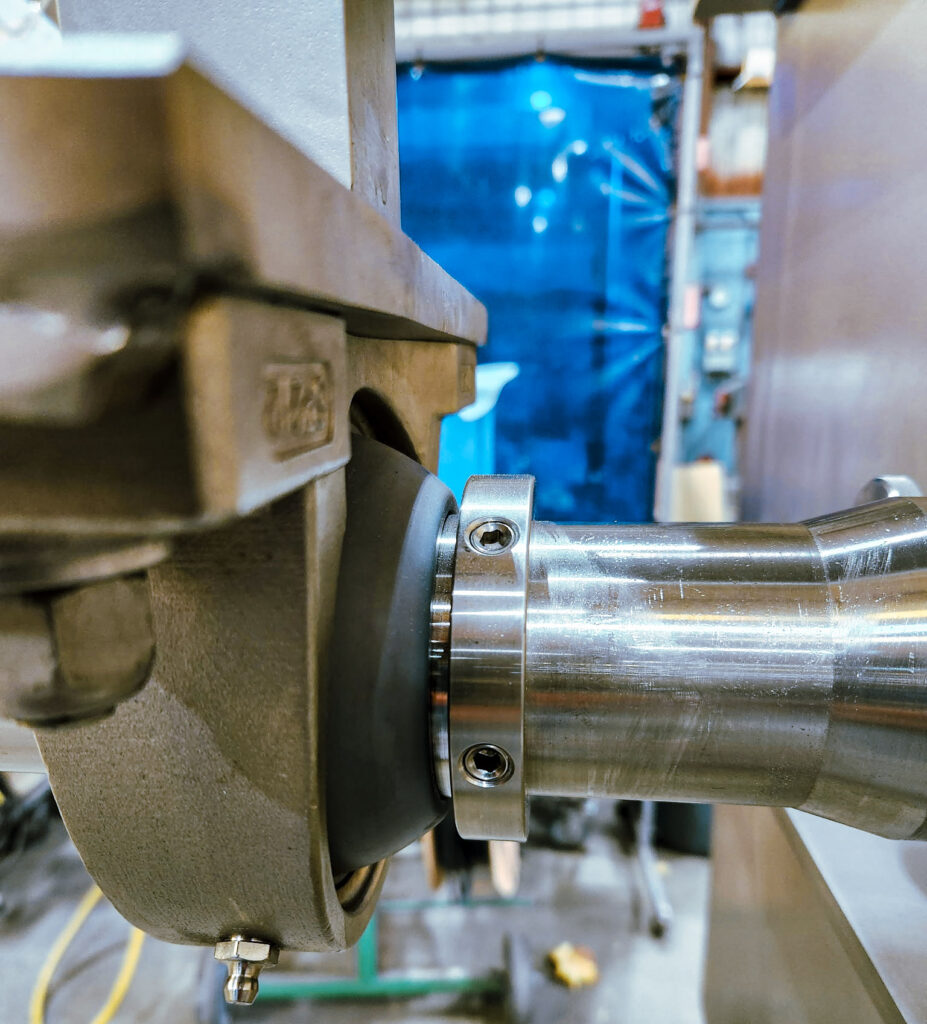
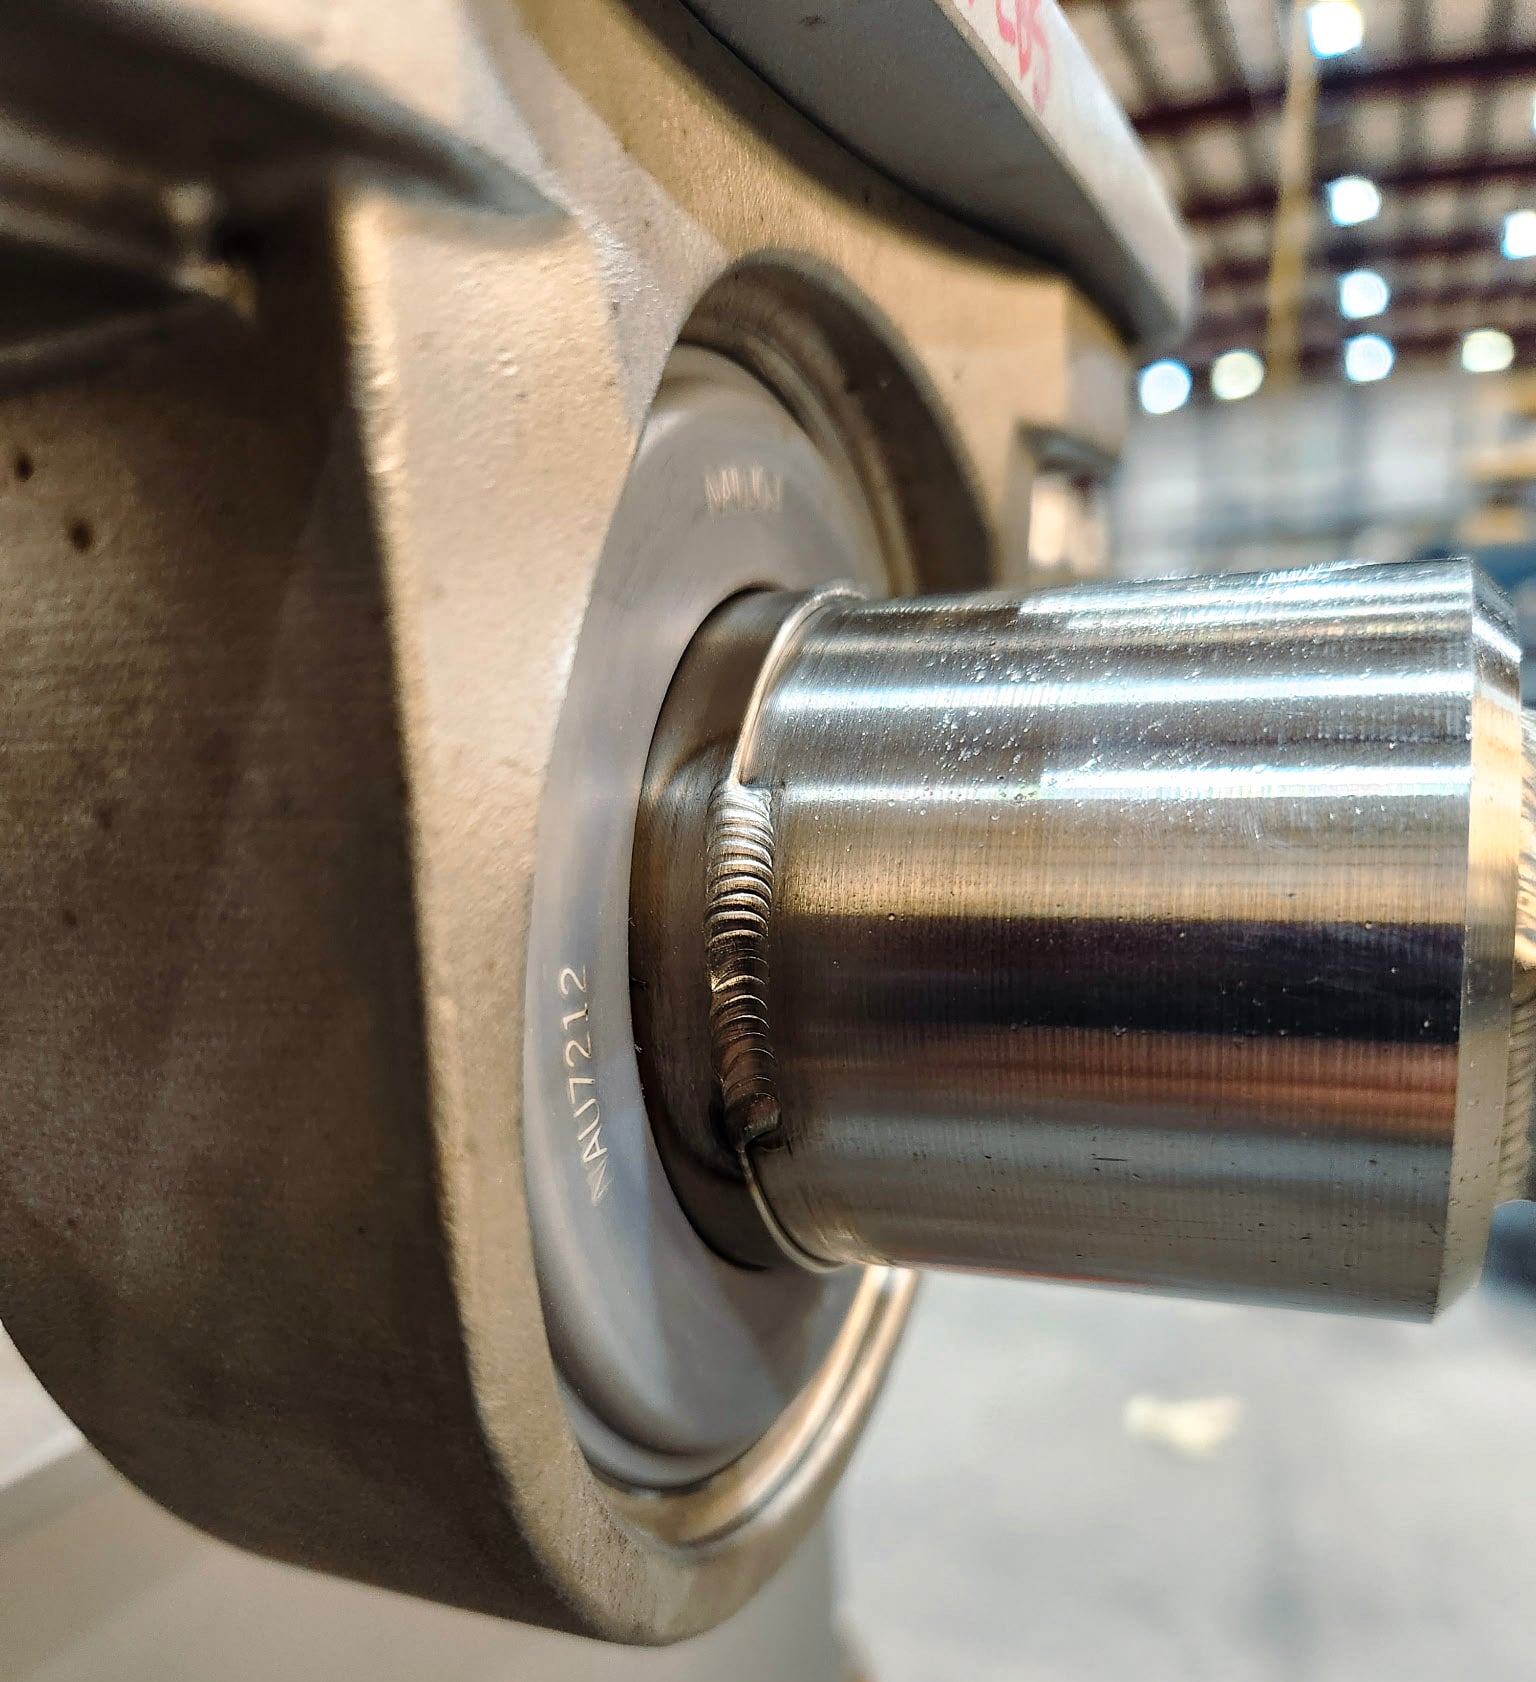
Replacement sleeve seated properly and ready for operation.
How to replace
Before doing a full replacement, confirm whether a simple readjustment resolves the issue. If replacement is still required, follow the instructions below.
Before you start
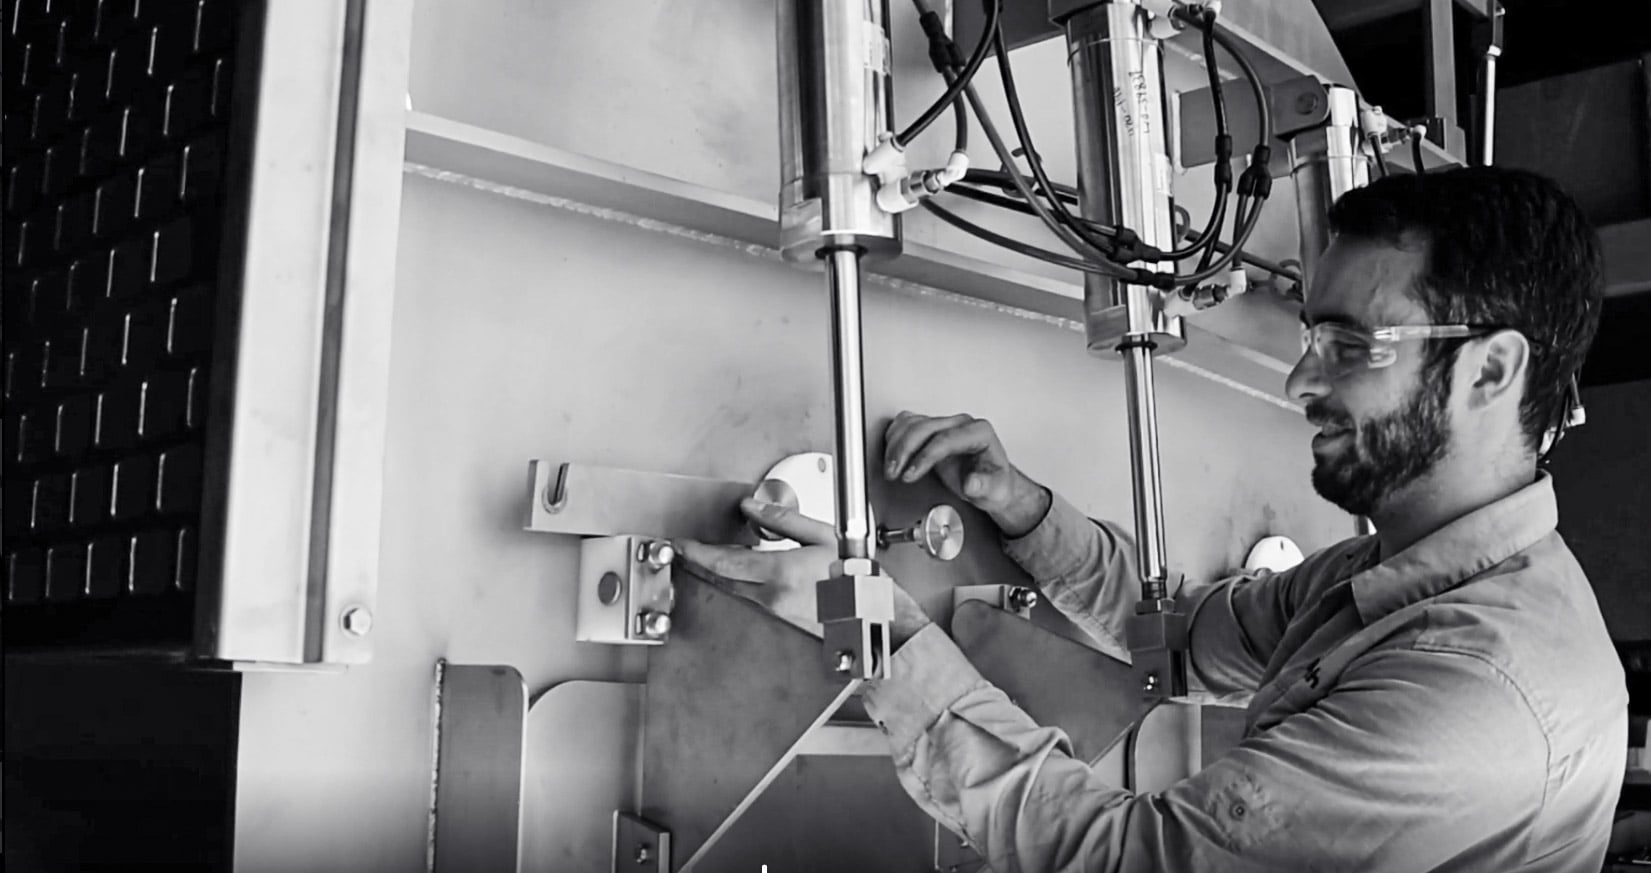
Disconnect power and lock/tag out the machine. Wear safety glasses and gloves. Have on hand: a belt or sling to support the shaft, basic wrenches, a screwdriver for the sleeve set screws, and a thread-locker.
1. Support the shaft
Wrap a ratcheting belt or sling around the shaft and hang it from the support so the shaft can drop just a little — only enough to clear the bearing housing.
2. Remove shaft seal
Remove the seal first so it isn’t damaged when you take the bearing out.
3. Take off the bearing housing
Loosen and remove the bearing-housing bolts and slide the housing/insert off the shaft.
4. Remove the old sleeve
Take out all set screws and slide the old sleeve off. Newer machines may use a dog-point set screw for better retention, and some sleeves are tack-welded; keep that in mind when you reassemble.
5. Fit the new sleeve
Slide the new sleeve onto the shaft and line up the set-screw holes with the shaft dimples or drilled marks. Snug the screws so the sleeve won’t move — finish final tightening after the housing is back in place. If you have a flanged polymer sleeve, don’t change the spherical insert in the housing — just replace the sleeve per the manufacturer’s instructions.
6. Put the housing back
If the insert is a tight fit, it may need to be chilled (it shrinks when cold and slips in more easily). Have the chilled insert ready. Position the sleeve so the flange sits about ¼″ inboard of the bearing face to leave room for the shaft to expand.
7. Secure and finish
Use thread-locker on the set screws. Install any anti-rotation pins per the manual. Remove the shaft support, reinstall seals, and run the machine to check for proper fit and no leaks. Consider a small weld spot inboard of the sleeve flange only if the set screws loosen repeatedly.
Practical tips
- Many polymer sleeves are self-lubricating — do not add lubricant unless the manual says to.
- Use thread-locker and consider dog-point set screws or a small weld spot for positive retention.
- Polymer sleeves can be brittle — press them in/out gently and use manufacturer tools/fixtures when recommended.
Contact Blentech Service to add sleeve inspection and replacement to your next maintenance visit — or reach out to order replacement sleeves and other parts to keep your machines running optimally.